

How to Find My Meta Pixel ID
Find your Meta Pixel ID in Events Manager, confirm it against your WordPress installation and distinguish it from ad-account IDs and access tokens.
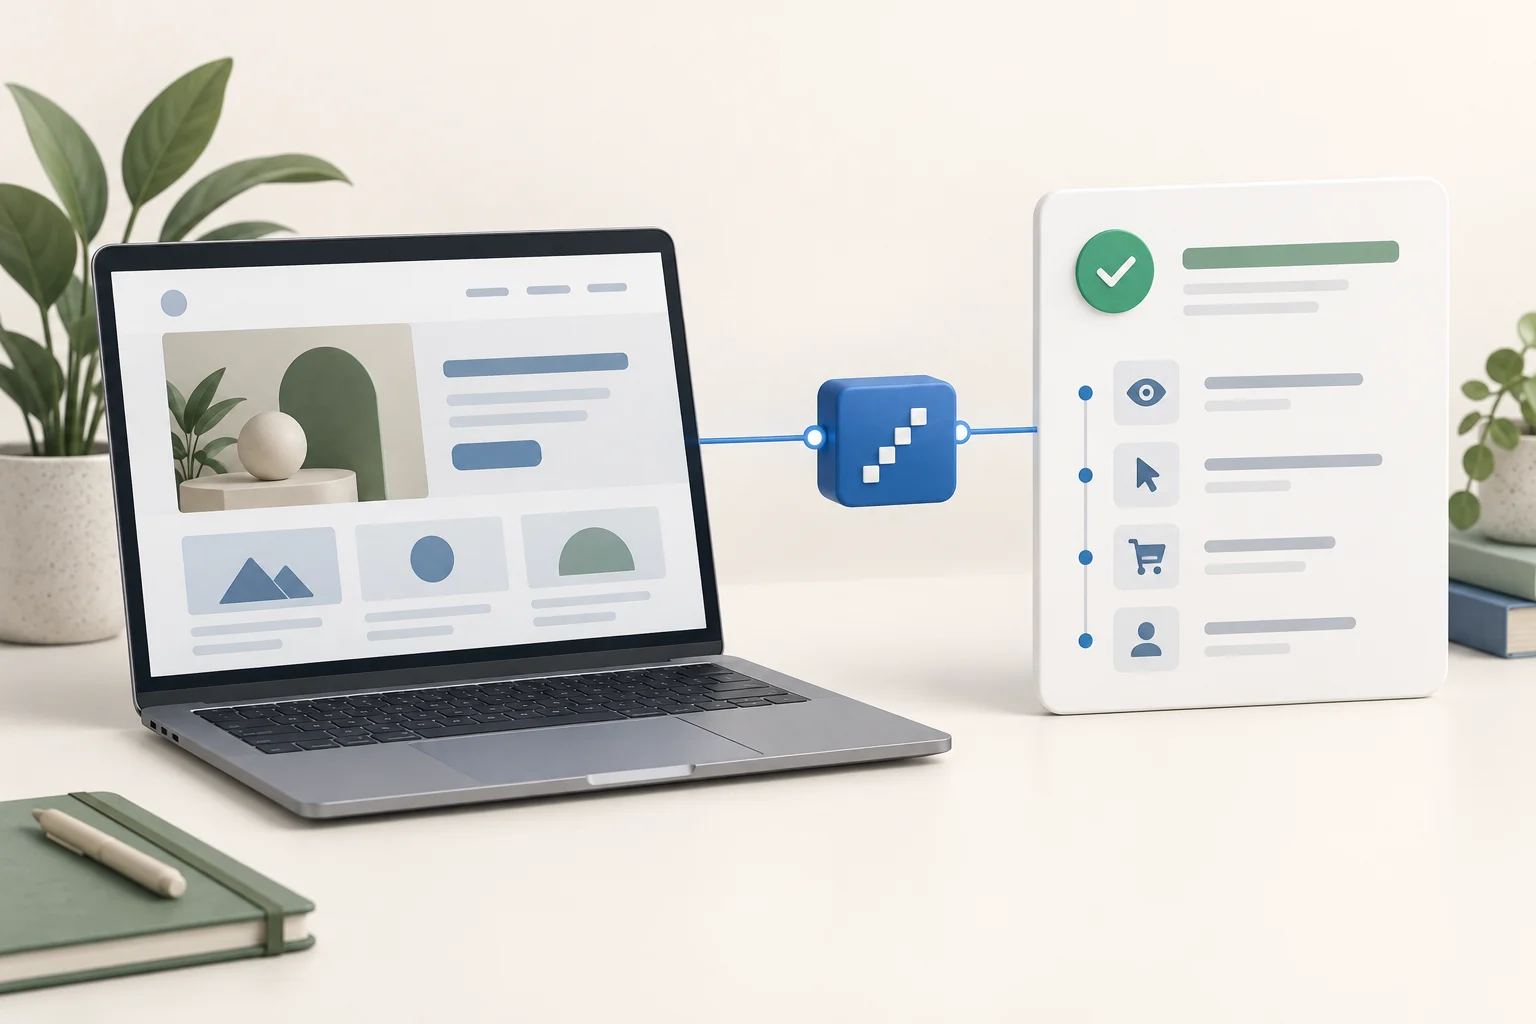
You can find your Meta Pixel ID by opening Meta Events Manager, selecting the website data source for your business and checking its identifying details or settings. Then compare that numeric ID with the one configured on your WordPress website. Do not copy an ad-account ID or a Conversions API access token into a Pixel ID field.
Meta may show your website events under a dataset. Use the identifier supplied for the Pixel connection you are configuring, and verify it against the installed code. If you have several businesses or websites, the name alone is not enough.
Find the existing source before creating another
Sign in to the Meta business that owns the website connection. Open Events Manager and select the appropriate data source. Inspect its details or settings for the numeric identifier.
Meta's interface can differ by account and connection, so the practical check is the selected source and its identifier, rather than a fixed button position. The official setup guide explains that a created Pixel has an ID visible in Events Manager.
If you see no suitable source, check the business selector and your permissions before creating a new one. A new Pixel has a different identity; it is not a way to recover access to the existing source.
Compare it with WordPress
Open the tracking integration that owns your site's Pixel. This could be a WooCommerce connector, a general tracking plugin, a tag-manager container or a maintained header snippet.
Read the configured numeric ID. If the integration uses account linking instead of an ID field, check which website source it selected.
For a manually installed Pixel, Meta's base-code documentation shows where the ID appears. It is passed to the initialization call. If the installation also includes an image fallback, inspect its destination ID too. Both should refer to the intended source.
Do not edit anything during this discovery step. First establish whether the account and website already agree.
Confirm the ID visitors actually receive
Open the public site and inspect it with Meta Ads Data Advisor, formerly Meta Pixel Helper. The official diagnostic extension can show the installed Pixel activity.
Give appropriate advertising consent for your test where required. If tracking deliberately stays blocked before consent, the absence of a Pixel at that stage does not tell you which ID the accepted state uses.
Compare the detected ID with Events Manager and WordPress. If they differ, note all three values and identify the source of the public code. A saved plugin setting can be correct while a cached page or old tag-manager version still sends another ID.
If you detect two IDs, determine whether both are intentional. Do not remove one merely because its name looks unfamiliar.
Distinguish the identifiers
A Pixel ID identifies the website tracking destination. An ad-account ID identifies an advertising account. A business ID identifies the business portfolio. A catalog ID identifies a product catalog. These are not interchangeable, even when they are all long numbers.
An access token is different again. It is a credential used by an authorized connection, not the value to paste into a Pixel ID field. Keep tokens out of screenshots, emails and public support threads.
The Pixel ID appears in website code and is not a password. Still, sharing it with a contractor does not grant them account access or justify transferring ownership.
If a contractor installed it
Ask for the source's name and ID, the owning business, your assigned access and the component that installs it. Request a configuration record rather than a screenshot containing unrelated credentials.
If the source belongs to an agency, clarify access and ownership before replacing it. Changing the website ID without considering the campaigns and server connection can create a partial migration.
For a site using Niwa's customer assistance, keep the Pixel configuration separate from the assistant's setup. The assistant helps people understand the business; the tracking source receives events from the website.
Keep a small handover record
Record the website, Pixel ID, business owner, installation component and date checked. Also note whether there is a server-side connection. You do not need to store its token in the same document.
That record is useful when someone updates the site, changes the WooCommerce workflow or investigates a missing event. It avoids guessing which account or plugin should be changed.
Existing WordPress owners can add the standalone Niwa plugin to support customer conversations and business tasks. If you need a new WordPress site or migration, Niwa Business is USD 150 with hosting, maintenance and AI adaptation. Contact Niwa about your existing website and the workflow you want to improve.

