

How to Exclude My Own Visits from Google Analytics
Exclude your visits from GA4 with tested internal-traffic filters or Site Kit logged-in-user exclusions, while keeping visitor data and tests accurate.
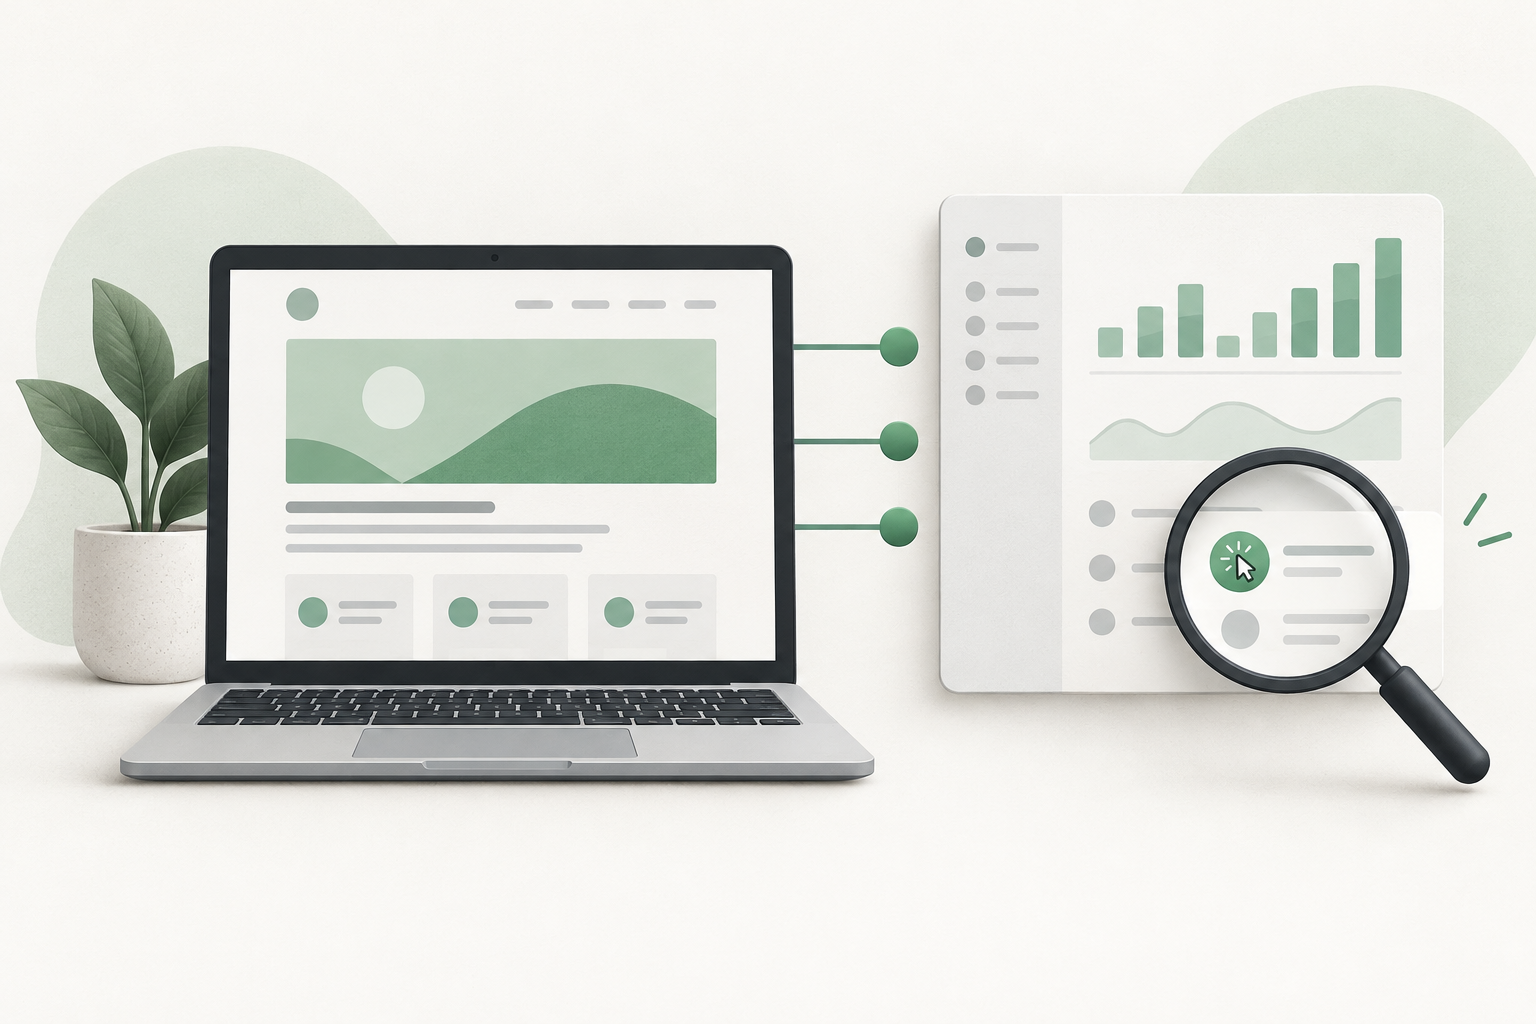
To exclude your own visits from GA4, define your public IP address as internal traffic and test an exclusion filter before making it active. If Site Kit places your Analytics tag, its logged-in-user exclusion can also prevent WordPress administrator visits from being tracked. Choose the method that matches how you browse and who else uses the same connection.
Owner testing can matter on a low-traffic website. Editing pages, checking prices and trying a booking flow may create activity that resembles customer visits. When Niwa assists customers on your website, separate your tests from genuine enquiries so you can evaluate the workflow more clearly.
Choose an exclusion that fits your setup
An IP-based internal-traffic rule is useful for a stable home or office connection. It can cover your visits while logged out of WordPress, but it also covers other people sharing that public IP. Check that you are not excluding a public network your customers commonly use.
Site Kit's logged-in-user setting works differently. It concerns people authenticated to WordPress when Site Kit controls collection. It does not identify you after logout, and another analytics installation may still collect events independently.
Developer-traffic filtering is a third option for events sent in debug mode. It helps keep debugging activity out of processed reports while retaining the DebugView workflow. It is not a universal exclusion for all your everyday visits.
Use the narrowest method that covers the behavior you intend to exclude. A broad IP range is not safer merely because it captures more addresses.
Define internal traffic in the web stream
You need Editor or higher access to configure these settings. Open GA4 Admin, Data collection and modification, and Data streams. Select the web stream, open Configure tag settings, expand Show more, and choose Define internal traffic.
Create a rule with a clear name. Use internal as the traffic_type value unless your business deliberately uses a different identifier. Set the IP condition for the public address or appropriate range you control.
Google's internal-traffic instructions support IPv4 and IPv6 conditions. Use the public address associated with the internet connection, not your computer's private local address. If the connection can use both address families, check the actual test behavior rather than assuming one rule covers both.
Dynamic addresses, mobile data and VPNs can change the address your website sees. Update the rule when necessary, or choose a different exclusion method for that usage.
Keep the data filter in Testing first
Open Admin, Data collection and modification, and Data filters. Inspect the existing internal-traffic filter before creating a duplicate. Configure an exclusion matching the traffic_type value from your stream rule, and set the filter to Testing.
Testing labels matching data so you can inspect it without permanently excluding it. Visit the site from the intended connection and allow time for processing. Create a Free-form exploration using Test data filter name and Event name as rows, with Event count as a value, to check the matching events.
Also test from a different connection that should represent external traffic. Your phone on mobile data can be useful if it is not routed through the same VPN or Wi-Fi. Confirm that its ordinary visits are not included in the internal rule.
Google notes that a data filter can take 24 to 36 hours to apply. Give the testing view time to show the labels before concluding that the rule failed.
Activate only after checking the match
When the test shows the intended internal traffic and leaves external traffic outside the rule, change the filter state to Active. Record the activation date and the address range you approved.
An active exclusion permanently prevents matching incoming data from being processed into reports. Turning it off later does not recover data already excluded. It also does not remove your earlier visits from historical reports.
For a temporary analysis of existing data, use an appropriate report or exploration filter where the collected dimensions support it. That is different from permanently changing future collection.
Use Site Kit's logged-in-user option deliberately
If Site Kit manages Analytics, open Site Kit, Settings, Connected Services, Analytics and Edit. Review Exclude Analytics and the All logged-in users option described in Site Kit's documentation.
This can be convenient when owners normally browse while logged in. On a membership site or store where customers log in, however, excluding all logged-in users can remove customer behavior too. Decide whether that tradeoff fits your site.
Check tag placement and other analytics plugins. A Site Kit setting cannot reliably prevent a separate unmanaged tag from collecting the same visit. Clear relevant caches after configuration changes and test both logged-in and logged-out sessions.
Keep a way to verify customer workflows
Google's developer-traffic filter is designed for debug-mode activity. Use a deliberate testing setup instead of switching broad production filters on and off whenever you check a form.
For Niwa website bookings, verify the saved test appointment as well as the analytics event. A missing owner event after an exclusion can be expected; a missing appointment record is a separate operational problem.
Describe your test and measurement setup to Niwa if you need help planning the customer workflow. Include the filter state, logged-in status and connection used so routine owner visits do not get mistaken for customer evidence.

