

How to Replace a Meta Pixel on My Website
Replace a Meta Pixel on your website with a controlled ID change, matching browser and server connections, verified events and a rollback record.
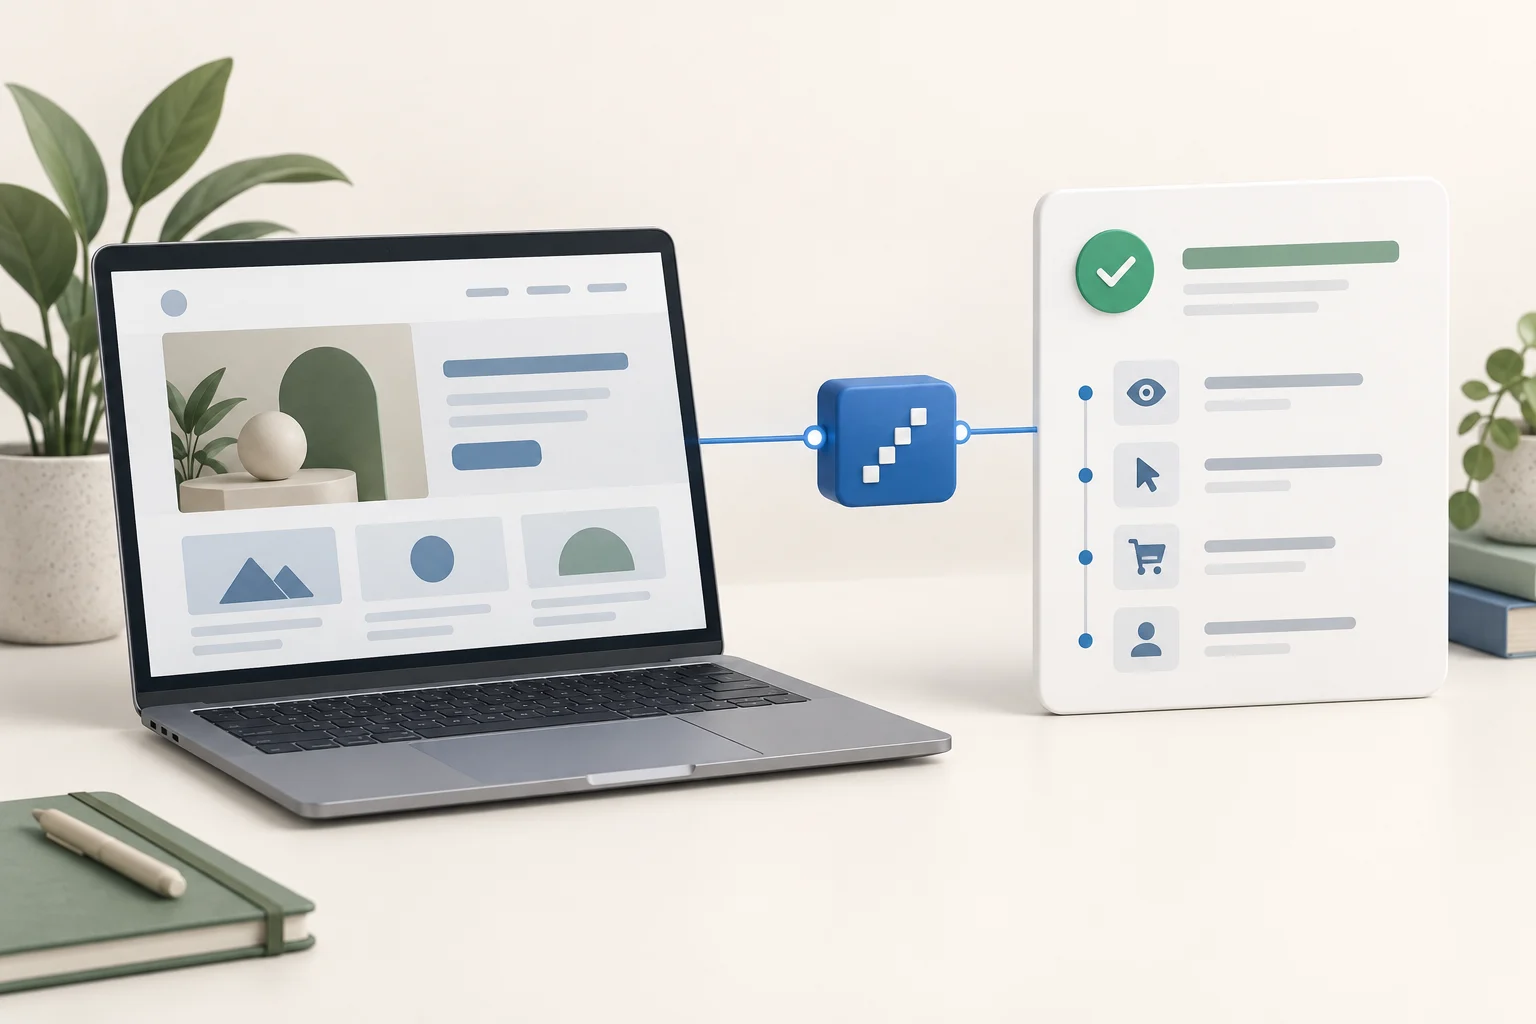
To replace a Meta Pixel on your website, update the ID in the component that owns your tracking, update any connected server-side destination, and test the same customer actions against the new source. Keep a record of the old setup so you can roll back if the change fails.
Changing the website's destination does not turn the old data source into the new one. It also does not, by itself, update campaigns, audiences or other assets that use the old source. Treat replacement as a coordinated change rather than a single number pasted into a field.
Confirm that replacement is necessary
Start with the reason for the change. You may be moving to a business-owned source, correcting an incorrect connection or separating websites.
If the problem is missing access, investigate ownership and permissions first. If it is an event failure, diagnose the trigger and delivery before replacing the ID. A new source does not repair an event that never runs.
For a site using Niwa customer assistance, identify the completed purchase, enquiry or booking you want to preserve in the measurement plan. The tracking change should not interrupt that website workflow.
Inventory the old connection
Record the existing Pixel ID, owning business, installation component and enabled events. Also record whether Conversions API sends to that source.
Inspect any tag-manager version, plugin setting, manual header code and fallback image. Note event setup rules, custom conversions and campaigns that depend on the old source. Check asset dependencies in the actual Meta account with the person responsible for advertising.
Back up the configuration you intend to change. A screenshot can help with field values, but keep access tokens and private data out of shared screenshots. If exporting settings, inspect whether the export includes credentials.
Prepare the new data source
Confirm that you can access the intended new source and copy the correct numeric ID. Verify that the business and connected assets are appropriate for your website.
If the server integration requires a credential for the new destination, prepare it through the authorized connection. Do not reuse a token simply because it worked with the old source; check that it is valid for the new destination and permissions.
Decide who is changing the website and who is updating the advertising dependencies. Agree on a change time and an acceptance test.
Change the existing owner
Update the existing plugin's Pixel ID or the tag-manager variable that owns the base code. If the ID is embedded in manually installed code, check every relevant location, including any fallback image.
For example, the PixelYourSite Meta settings guide documents its Meta Pixel ID field and server-connection settings. Use the current controls in your installed edition. A plugin's browser ID field and its token-based server connection are related settings, not interchangeable values.
Keep the same verified success triggers unless the migration also deliberately changes their implementation. This limits the number of things you have to diagnose if the first test fails.
Remove the old installation when you switch, rather than adding a new plugin over the top of it. If a deliberate overlap is required by your advertising plan, document its scope and test each destination separately.
Coordinate browser and server identity
When browser and server events describe the same outcome, they should go to the intended source and share the matching event identity required by the integration.
Meta's deduplication guidance explains the relevant browser and server fields. Sending one representation to the old ID and one to the new ID does not create a coordinated pair at the new source.
Check the server connection's destination after the browser change. Do not infer that all integrations update it automatically.
Test the public version
Clear the relevant website and script caches after saving. Open a fresh permitted browser session and inspect the detected ID using Meta's diagnostic extension.
In the new source's Test Events area, verify PageView and one complete customer action. Confirm the business record independently. For Niwa website booking, that means a saved reservation after website completion, not merely a conversation about availability.
For a store, compare Purchase value and currency with the actual test order. Repeat the failed-action and confirmation-reload checks. Also inspect the old source for unexpected continuing deliveries from the changed site.
Test advertising consent accepted and declined. A replacement should preserve your consent behavior, not silently bypass it.
Decide whether to keep or roll back
Keep the new connection when the expected source receives the verified events and the dependent advertising configuration has been checked. Save the date and observed result.
If the test fails, restore the recorded configuration and investigate the missing stage. Avoid repeatedly switching IDs without a clear record.
An AI-built website uses AI during development; an AI-powered website continues helping customers after launch. Existing WordPress owners can use the standalone Niwa plugin for that customer assistance. Niwa Business is USD 150 for a custom WordPress site or migration, hosting, maintenance and business AI adaptation. Contact Niwa about the website workflow you want to maintain and include your current platform and intended customer outcome.

