

How to Transfer a Webflow Website to WordPress
Transfer a Webflow site to WordPress by separating code export, CMS data and hosted functions. Plan editable templates, media, redirects and launch tests.
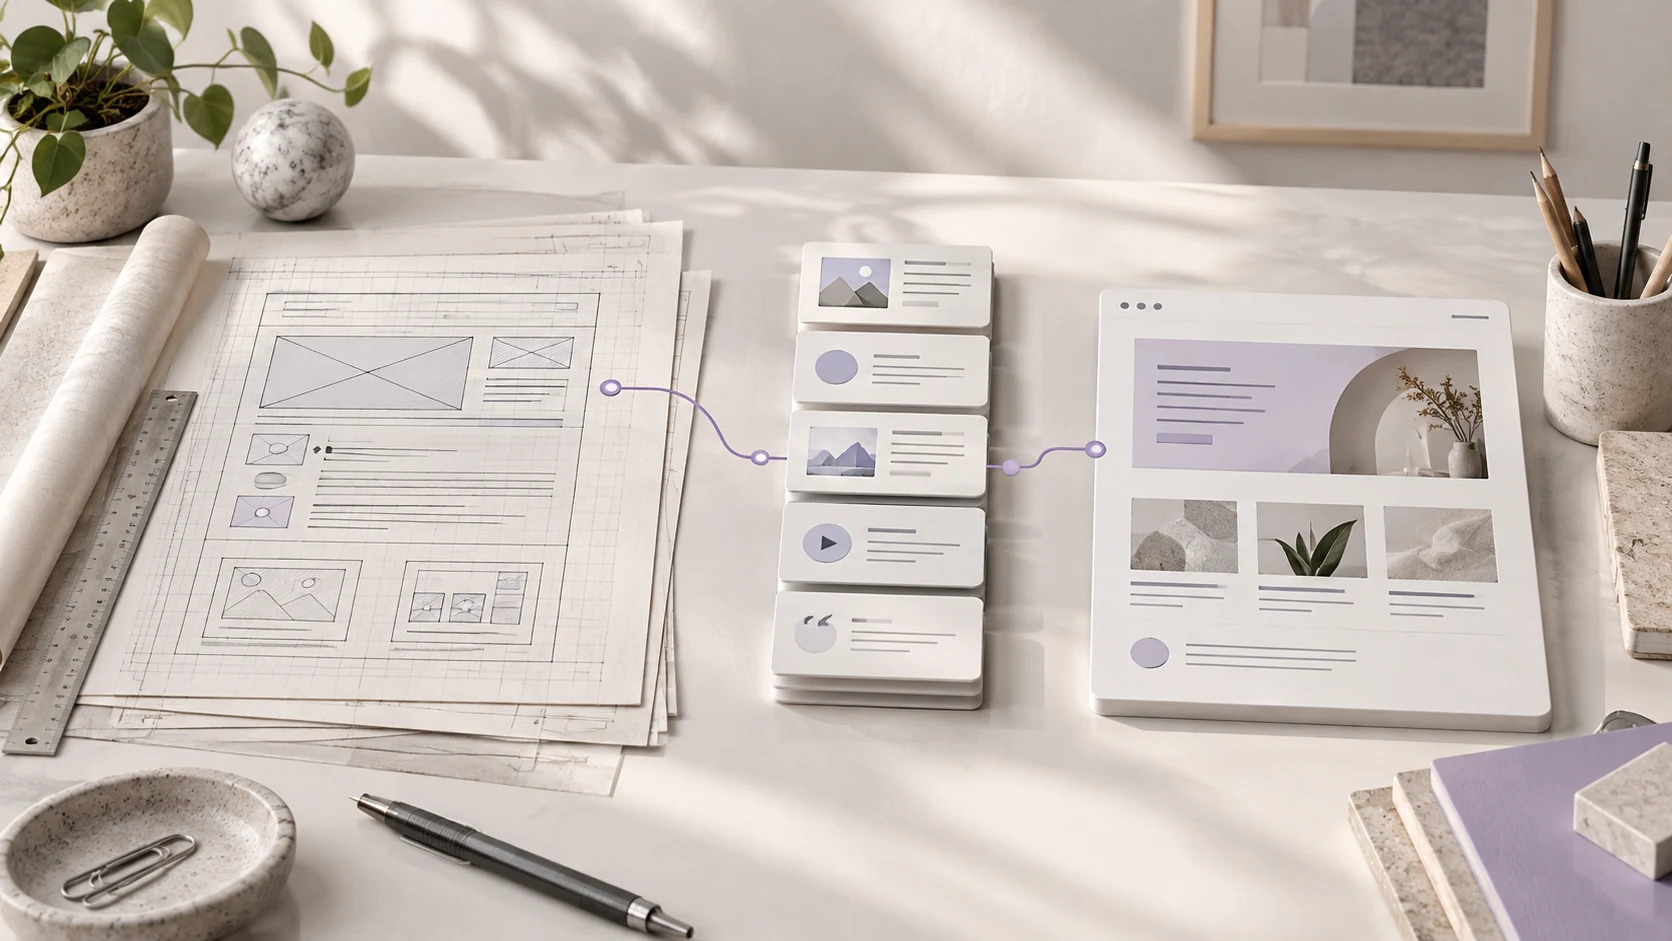
To transfer a Webflow website to WordPress, export or copy the design assets, export CMS collections separately, rebuild editable WordPress templates and reconnect functions that depended on Webflow hosting. Import the content, verify media and URLs, then switch the domain. A Webflow code ZIP is a static implementation, not a complete WordPress theme or a portable CMS database.
Niwa Business can handle a WordPress migration with hosting, maintenance and AI tools adapted to your business for USD 150. Send Niwa your Webflow site with its collections, locales, custom code and business functions. Agree the scope, editing approach and billing terms before implementation.
The destination can support work after launch too. For a catalog, Niwa’s customer assistance workflow can help visitors understand products using the information you maintain in WordPress. That makes the quality of the migrated content part of the functional setup.
Decide whether you need code integration or an editable rebuild
There are two different design approaches. A developer can integrate suitable exported markup and assets into a WordPress theme, replacing static content with WordPress templates and fields. Alternatively, the team can reproduce the design using blocks, patterns or a builder.
Choose according to who will maintain the site. If the owner needs to add a case study without touching code, the destination needs a repeatable content model. If a developer maintains a highly customized layout, a purpose-built theme may be appropriate.
Simply renaming an HTML file to a PHP file does not connect navigation, content, media or collections to WordPress. Agree what remains editable and what requires development before selecting the route.
Collect the Webflow code and assets where available
Webflow’s current documentation distinguishes Workspace plans from Site plans: code export requires a paid Workspace plan. Check access in your account rather than assuming a hosting subscription includes export.
Open the Webflow site, use Main menu → Code export, prepare the ZIP and download it. Keep an untouched copy. The official code-export guide describes the process and exclusions.
The ZIP can provide HTML, CSS, JavaScript and assets. It does not include functioning CMS content, checkout, site search or form processing. It also excludes localized content beyond the primary locale and does not preserve page password protection. Inventory those separately before relying on the archive.
If code export is unavailable, use your existing project and published pages as references and obtain reusable assets through permitted means. A manual rebuild can still be the right route for a small business site.
Export each CMS collection and locale
In the CMS panel, open a collection and export its items as CSV. Webflow’s CMS export instructions explain that exports follow the current locale view. A multilingual site therefore needs a deliberate collection-and-language inventory.
Inspect a sample of each CSV. Rich text can contain HTML, while image and file fields can contain Webflow-hosted URLs. References need interpretation in the destination content model. Preserve the original exports and record the number of items.
Design the WordPress fields before importing:
| Webflow content | Possible WordPress destination | Migration check |
|---|---|---|
| Collection item name | Post title | Preserve the intended public title |
| Slug | Post slug | Compare the complete old and new paths |
| Rich text | Post content or an agreed field | Review formatting and embedded media |
| Image URL | Media Library attachment | Copy the file and check its new URL |
| Category reference | Taxonomy term | Map names to actual destination records |
| Related collection reference | Relationship field | Resolve the correct imported item |
Those are example mappings, not universal field names. A case-study collection may need different fields from a staff directory. Choose an importer that supports the actual content types and fields. WordPress’s importing documentation distinguishes available import formats and tools.
Build templates around the content
Create the shared navigation and page shell, then a template for each repeatable content type. Import several representative items first: a long entry, an entry with multiple images and one with related records.
Inspect the rendered pages, not just the import log. Check references, dates, accents, categories and image captions. Ask an editor to add another item and update an existing one. The test is whether the content remains manageable after the migration team leaves.
For an illustrative architecture studio, project pages might share a template with location, project description and a gallery. The CSV supplies those values; the WordPress template supplies their presentation. Keeping those responsibilities separate makes later updates predictable.
Replace the functions that do not leave with the ZIP
List every form, search experience, protected page, store and external connection. Decide what will be rebuilt and what can remain connected to an external service. Export historical records separately where needed; a new working form does not preserve old submissions.
Pay particular attention to access protection. A static export of a formerly protected Webflow page is not automatically protected on another host. Put any restricted destination behind the intended access control before testing it with real data.
For commerce, scope product data, variants, checkout, orders and customer accounts as a distinct part of the migration. Do not infer that a product CSV preserves payment connections or account passwords. Test the full buying path and reconcile the records the business needs to retain.
Keep only interactions that serve the design or customer task. If you reuse permitted Webflow assets, check dependencies and behavior on the destination web server. An animation opening locally is not a substitute for testing the published WordPress page.
Transfer media and preserve the URL structure
Download required collection images and files rather than depending on old Webflow URLs. Confirm they are stored on the destination and that imported rich text points to the correct versions. A copied URL is not proof of a copied file.
Build a URL map that includes collection pages, language variants and campaign landing pages. Keep existing paths where practical. Configure permanent redirects for changed addresses and update internal links, canonicals and the sitemap.
Use Google’s site-migration guidance to plan monitoring. Search visibility can fluctuate during recrawling even when redirects are implemented carefully.
Switch hosting after functional and editing checks
Before changing DNS, reconcile collection counts and review desktop and mobile layouts. Verify that forms reach their destination, search works, restricted pages remain restricted and the owner can make ordinary edits.
Create a launch backup and preserve the current DNS settings. Switch the website records, keep email records intact unless email is also moving, then check HTTPS and the important old URLs on the live domain. Remove development indexing restrictions from the production destination.
Keep the source project and exports until the new site has been checked. Cancel unused services only after identifying which integrations still depend on them.
Connect the migrated content to Niwa
An AI-assisted rebuild creates the website. An AI-powered website uses the completed information to assist customers and owners after launch. A product assistant needs accurate attributes, policies and availability; an owner editing a page needs a clear target and a saved-result check.
The Niwa setup guide explains the standalone plugin and supported connections for an existing WordPress site. You do not need another redesign merely to install it. For a Webflow migration, include the desired customer and owner tasks in the initial scope so the content model supports them from the start.

