

How to Transfer a Hostinger Website Builder Site to WordPress
Use Hostinger's builder content export to WordPress, verify its application-password connection, then rebuild layouts, forms, SEO and excluded business functions.
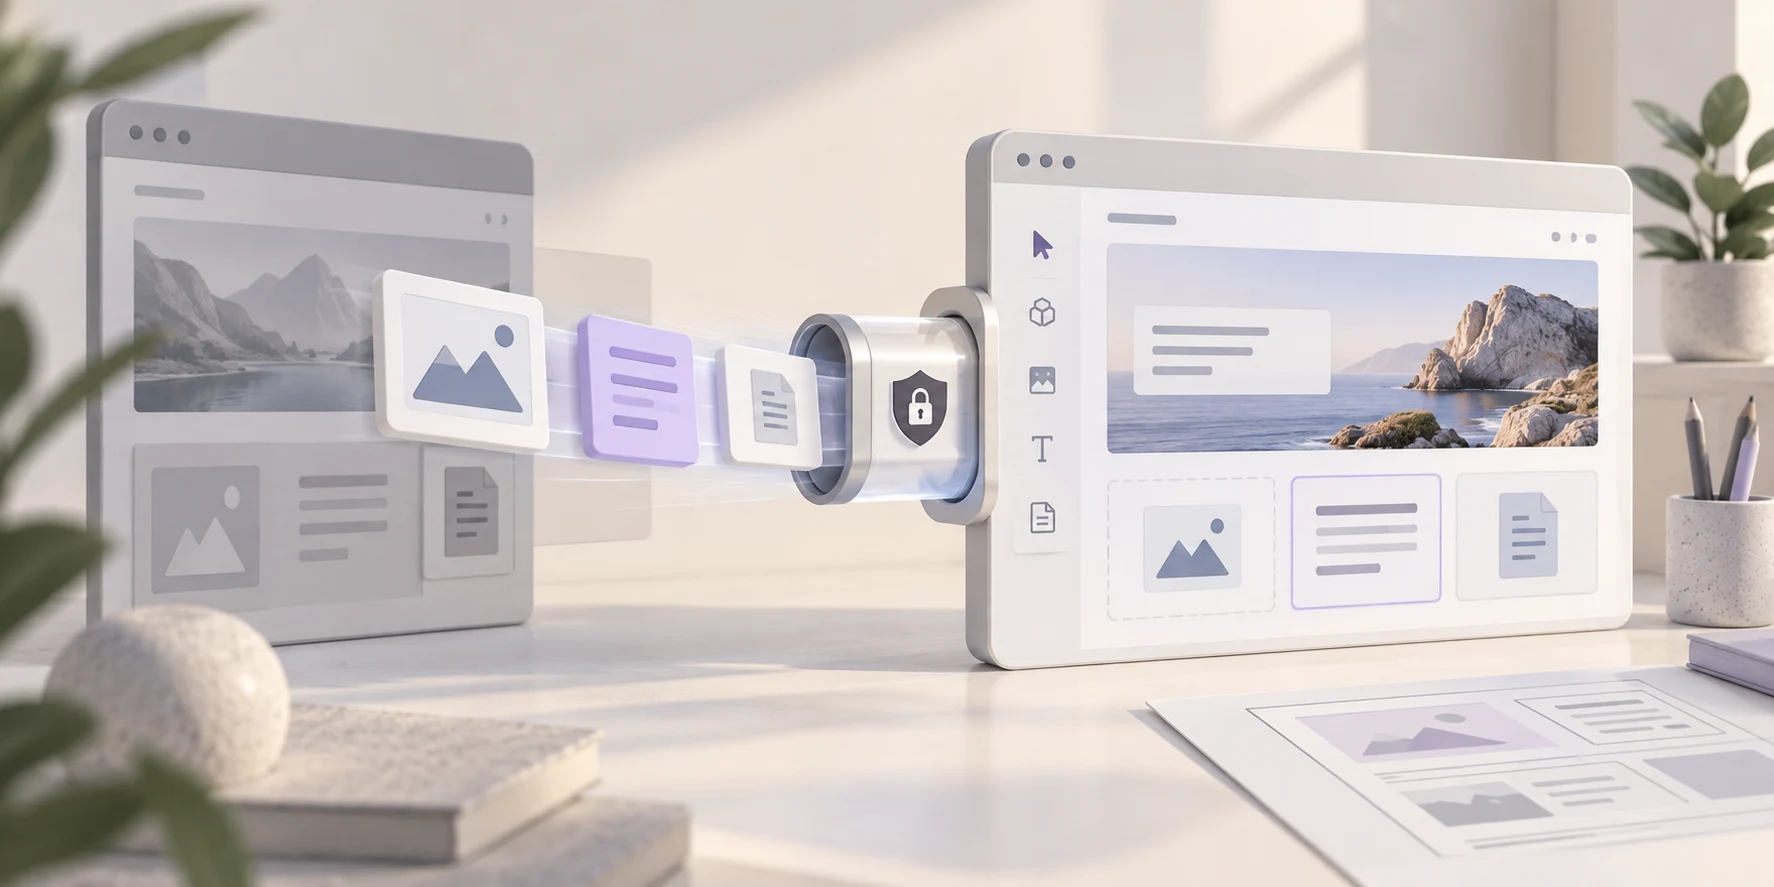
To transfer a Hostinger Website Builder site to WordPress, prepare a reachable WordPress destination, use the builder’s supported content-export connection, then inspect the imported pages and files. Rebuild the design, forms, SEO settings and other excluded functions before switching the live domain. This is a content transfer followed by a rebuild, rather than a complete website clone.
Niwa Business includes a custom WordPress site or migration, hosting, maintenance and adapted AI tools for USD 150. Send Niwa the builder site and the work it needs to perform after the move. Agree the migration scope and billing terms before implementation.
A site initially built with AI can still need an assistant configured for daily customer questions. On WordPress, Niwa’s customer assistance tools can use approved business information after launch. Keep that operating setup separate from the process that generated the original design.
Check the builder product and export option
Hostinger’s current WordPress export documentation describes AI Builder manual mode. Confirm that your editor has the documented export option. Do not assume that every Hostinger product or AI application shares that route.
If the current site is already WordPress, use a WordPress hosting migration instead. Hostinger’s separate Copy Website feature applies to WordPress and can overwrite destination content. It is not the builder content-export operation.
Take an inventory before making either change. Record page addresses, navigation, media, downloads and connected services. Note who controls DNS and email. Save copies of important material while you still have access to the builder.
Plan around the export boundaries
The documented export supports regular pages, text, images and other files. It excludes layout and styles, store features, integrations, forms, submissions and SEO settings. Treat each excluded item as a separate destination task.
| Source component | Destination check or rebuild |
|---|---|
| Regular pages and text | Compare page counts, headings and editable content |
| Images and files | Confirm destination storage and working links |
| Layout and styling | Build a WordPress theme and reusable page patterns |
| Forms and collected submissions | Configure new forms and preserve required records separately |
| Store or connected services | Agree a supported data and integration route |
| SEO configuration | Recreate relevant metadata, URLs and redirects |
For example, a home-services site may export its service descriptions while leaving its inquiry form behind. The imported page can look complete even though a visitor has no working way to request a quote. Include both the visible content and its intended outcome in the acceptance checklist.
Prepare the destination without replacing the source
Create a separate WordPress installation on a staging or temporary address. Keep the builder live until the replacement passes review. Back up any destination content before an import.
Hostinger specifies WordPress 6.5 or later, a propagated destination domain and the Post name permalink setting. Its connection requires application passwords to be available. Verify those prerequisites against your destination before starting.
Use a clean staging installation where possible. Do not deactivate all plugins on an established live business site just to reproduce a migration tutorial. If a connection fails, investigate the relevant authentication or plugin interference on staging and change only what is necessary.
The documentation currently contains a contradictory checkbox instruction about disabling application passwords. Its failed-export section explains that the feature must be enabled. Confirm that the destination actually allows the connection rather than following the checkbox label without checking its effect.
Run the content export and inspect the result
In the builder editor, open the sidebar ellipsis menu and choose Export content to WordPress. Enter the destination domain and start the export. In the WordPress authorization flow, approve the new application-password connection. After completion, open the destination and inspect the imported material.
Compare the result with your inventory before repeating the operation. Check whether a missing page was excluded, failed during transfer or arrived under an unexpected title. A second full export should not be the first response to an unexplained omission.
Inspect short and long pages, non-English characters, internal links and downloads. Open actual image URLs and confirm that the files live on the destination or another intentionally retained service. A visible image may still depend on the old site.
Once the transfer and its checks are complete, revoke the temporary application password used for the export. Keep any separately authorized ongoing connection distinct so it is not removed accidentally.
Rebuild the design around the editing workflow
Create the shared header, footer and navigation. Choose page patterns that let the owner update service details, photographs or opening times without editing implementation code.
Use the old design as a reference where it remains useful. Prioritize readable content, clear calls to action and usable mobile controls over copying every spacing value. Test the header and longest content pages on a phone before considering the layout finished.
Replace excluded forms and integrate the services the business still needs. Decide where inquiries are delivered and whether a record must be stored. Submit a controlled test, inspect the saved result and verify the confirmation message.
If appointments are part of the scope, include Niwa’s booking tools in the destination. With the migrated service information and connected schedule, Niwa can answer questions, check availability and complete bookings directly through WhatsApp. Test that the selected service and time appear in the saved appointment.
Keep a store migration separate from a content export. Agree how products and other required records will move and how payments, shipping and confirmations will be tested. An imported product description is not evidence of a functioning checkout.
Recreate metadata and map the old addresses
Because SEO settings do not travel in this export, review titles and descriptions page by page. Preserve useful wording and revise only where the destination content changes.
List the old URLs and their intended new destinations. Keep suitable paths where possible and configure permanent redirects for changes. Inspect internal links, canonical URLs and the sitemap. Check that production pages will be indexable after launch and that staging pages remain appropriately restricted.
Search traffic can change during a migration. URL continuity and monitoring help you identify problems; they do not create a ranking guarantee. Retain the old URL inventory for checks after the domain switch.
Launch after the functional checks pass
Create a destination backup and switch website DNS according to the host’s instructions. Preserve email records unless email is included in the agreed migration. Confirm HTTPS, the correct homepage, representative redirects and working forms on the live domain.
Run the customer workflow again after launch. Check that the assistant answers from current information and sends visitors to the correct service, contact or booking destination. Retire the builder only after required content and records have been verified.
If you already run WordPress, the standalone Niwa plugin can be installed without transferring the website. For a builder migration, ask Niwa to review the export option and inventory first. Those details show which parts can transfer and which need a deliberate rebuild.

