

How to Add AI Appointment Booking to Your Website
A practical WordPress installation guide for connecting Niwa service assistance to a working website booking flow.
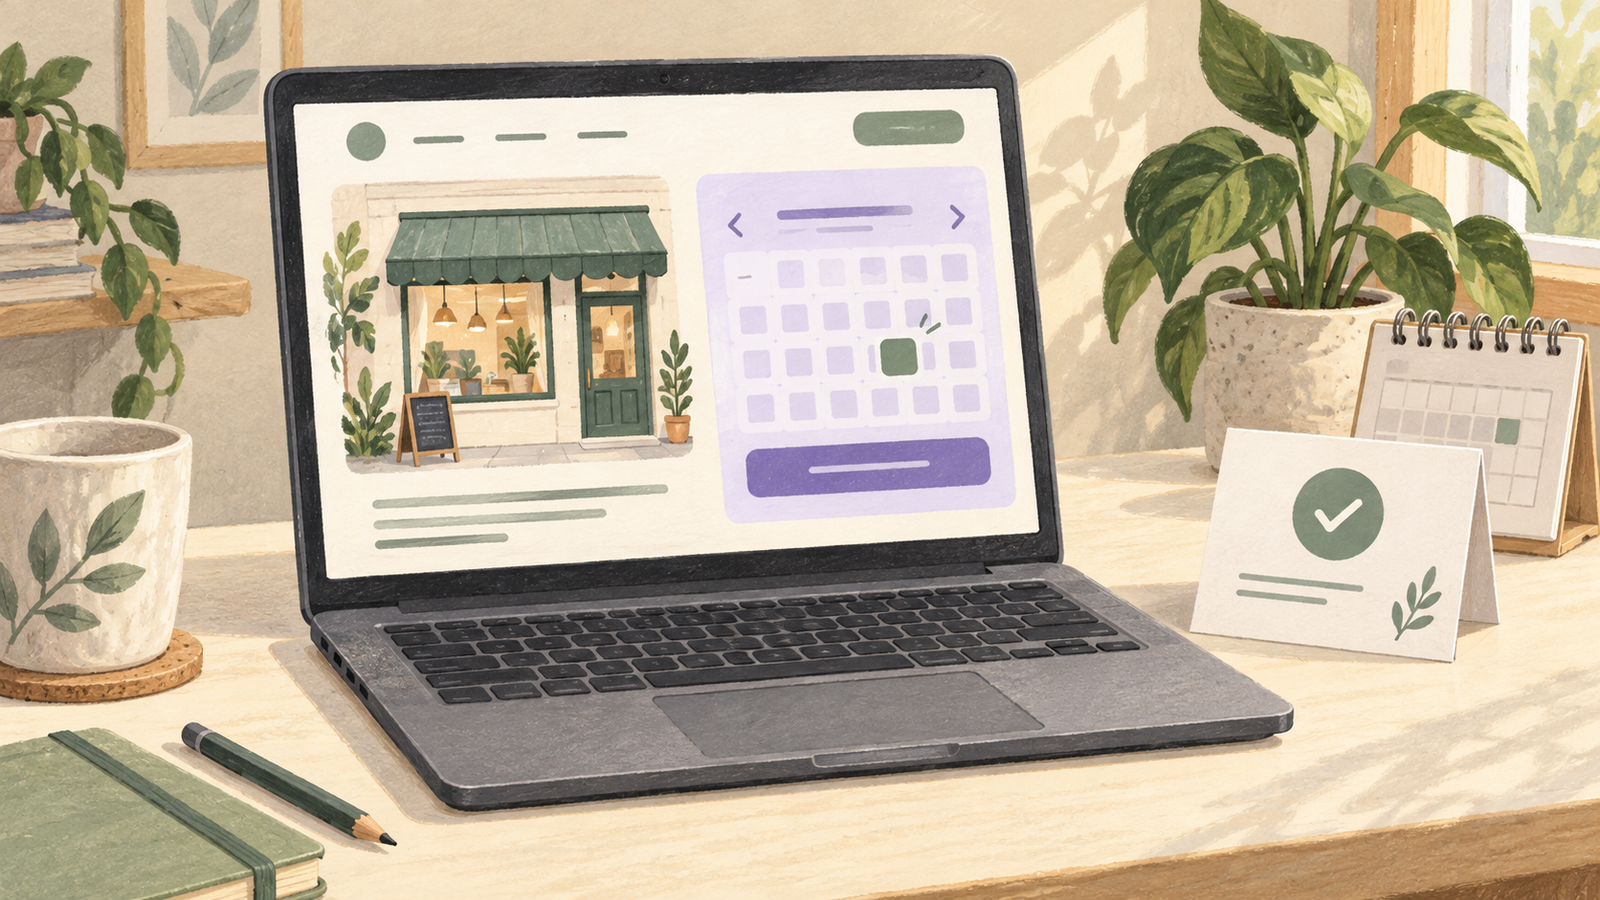
Add AI appointment booking to your website by connecting a customer assistant to a scheduling system that can save appointments. On an existing WordPress site, you can install Niwa, configure services and availability, and place a booking button beside the information customers read before choosing a time.
Start with one service and a controlled test. Once the service question, available appointment and saved record agree, expand the setup to the rest of your website.
Prepare the existing WordPress site
Use an administrator account that can install plugins and edit the relevant page. Keep a current backup and use your normal staging process to check a new installation before opening it to customers.
Obtain the current Niwa plugin package through your agreed Niwa setup. In WordPress, open Plugins, Add New and Upload Plugin. Select the ZIP, install it and activate the plugin. These are the standard WordPress plugin upload steps; installation access can depend on the hosting environment.
Follow the Niwa setup guide to connect the supported AI provider and configure the assistant. A working reply confirms only that the assistant connection works. Booking needs its own service and schedule configuration.
Configure one bookable service
Open Niwa's scheduling settings in the Lead Capture area. Enable scheduling and create a service with a clear name, description and duration. Add the team member who provides it and assign the service to that person.
Enter working hours, breaks and excluded dates. Set the turnaround buffer your business needs and choose the contact fields required for a reservation. Use the website's correct timezone so the selected time and the appointment record describe the same visit.
For a first setup, choose an appointment with a predictable length and scope. A fixed introductory consultation is easier to configure than a project whose duration must be negotiated. Give custom enquiries an obvious contact route instead of forcing them into this service.
Check the Niwa booking overview for the relationship between services, team availability and appointment records.
Place the native booking button
Niwa registers a booking shortcode that opens its scheduling interface. In the WordPress page editor, add a Shortcode block where you want the button to appear. A basic example is:
[niwa_booking label="Book an appointment"]
Copy that shortcode into the block using normal square brackets. The label is customer-facing button text, so choose wording that fits your page language and service. The example above is an illustration of the shortcode, rather than a live booking control on this article.
The shortcode can also receive a saved service ID through its service_id attribute. Use the actual ID from your configured service when you want a service page to open the relevant choice. Do not substitute the service's display name or a made-up number for that ID.
Keep the button near the service description and show a clear direct booking route in navigation. Returning customers should be able to reach scheduling without having to ask the assistant a question.
Supply the information the assistant needs
Give Niwa your approved service descriptions, location, preparation instructions and prices where published. Explain which questions should reach a person. Check that this information agrees with the service configuration.
A visitor may ask whether the introductory appointment includes the full treatment or only a discussion. The assistant should answer from your service information and point to the appropriate booking flow. It should not invent a new appointment type or offer a time outside the schedule.
Customers who start on WhatsApp can complete the appointment there. Niwa uses the same website business context and configured schedule to explain the service, check availability and save the reservation the customer confirms. Keep the service information consistent across that conversation and the website button.
Verify the public page and reservation
View the page as a logged-out visitor after saving it and refreshing the site's page cache through your usual process. Check that the button opens the scheduler and that the selected service, provider and times are correct.
Make a clearly identified test appointment. Inspect the saved record in Niwa for its service, duration, staff member, timezone and customer details. Check the configured confirmation separately. A delayed email should not cause a second reservation when the first record already exists.
Try the page on a phone. The booking controls need to remain visible when the assistant is open and the on-screen keyboard appears. Check a closed day, a staff break and a time too late for the service to finish before closing.
Complete the handover
Assign responsibility for updating staff hours and service information. Make sure telephone bookings enter the same scheduling workflow. Keep the route for appointment changes visible and explain who handles unusual requests.
Existing WordPress owners can use the standalone Niwa plugin. Niwa Business is USD 150 for a custom WordPress website or migration, hosting, maintenance and AI adaptation when you need the website work included.
Bring your current page to a Niwa demo. Identify the service you want to launch first so the installation can be assessed against a complete customer booking.

