

How to Track Meta Ads Conversions on My Website
Track website leads, bookings and purchases from Meta ads. Define the right events, connect Pixel and Conversions API, and verify the saved business result.
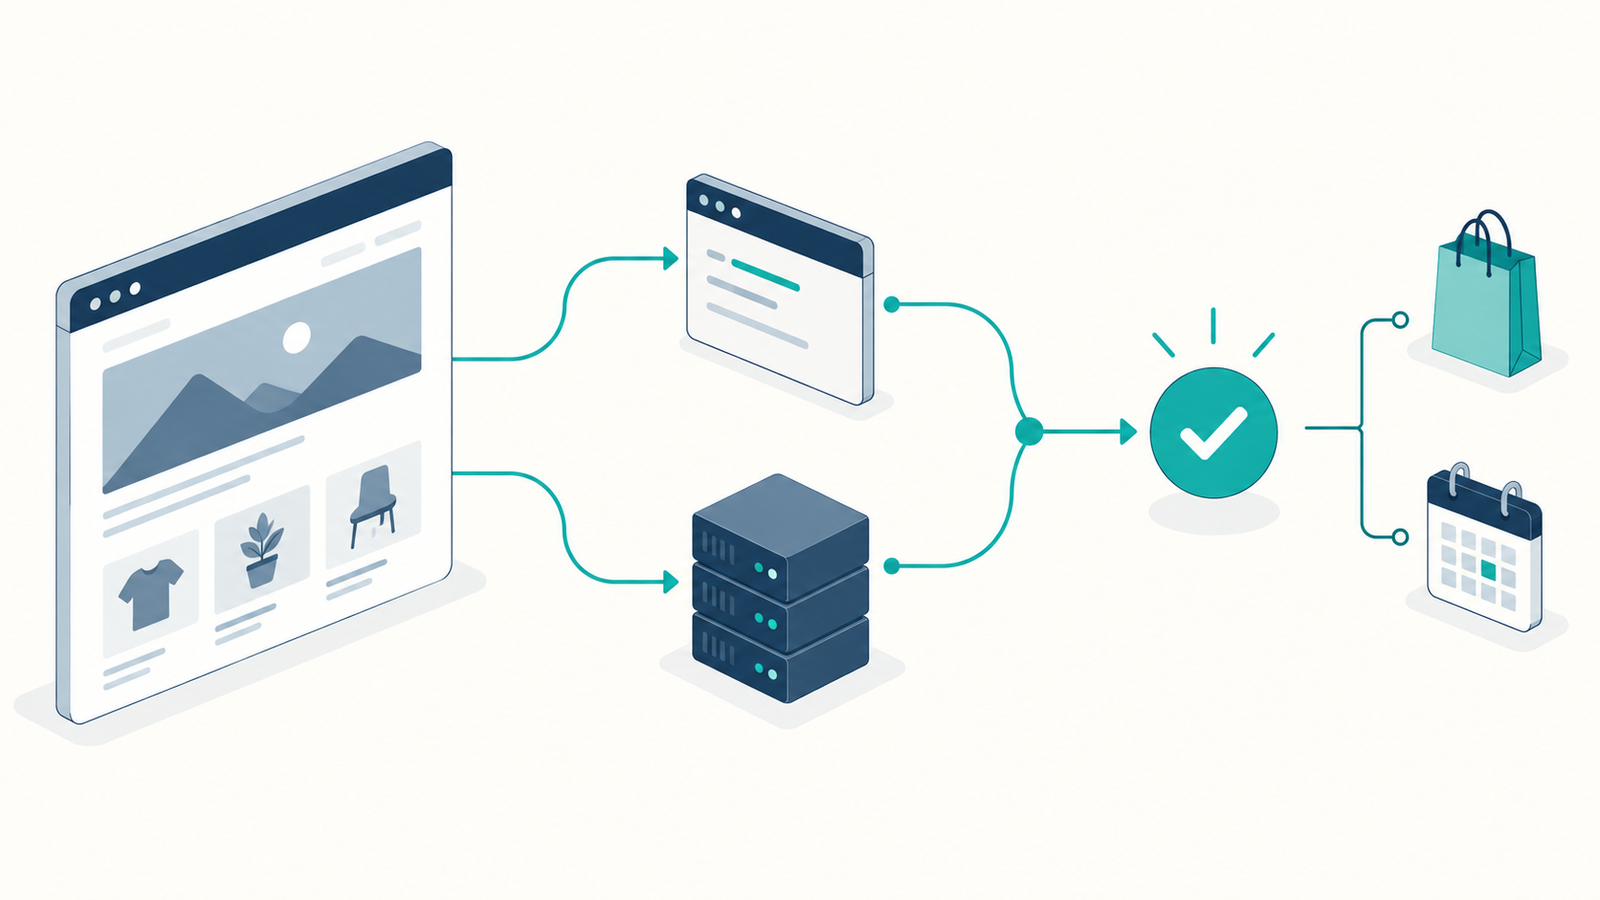
To track Meta ads conversions on your website, connect a Meta Pixel, send an event when a lead, booking or purchase actually completes, and verify that event in Meta Events Manager. Add Conversions API when your website or integration can send the same outcome from the server. Then select the relevant event in your campaign and compare attributed results with your own business records.
The important decision comes before installation: what counts as a conversion? A click on "Book" is different from a saved appointment. A checkout visit is different from a paid order.
For a WordPress business using Niwa, the customer journey might start with a product question in website chat and finish in WooCommerce checkout. A service enquiry can lead into the website booking flow. Measure the saved outcome at the end of that journey. The chat and the Meta tracking integration have separate jobs.
Define the result you want Meta to measure
Write one sentence describing success, then choose an event that reflects it. For example:
- A prospect submits valid contact details and the enquiry is saved:
Lead. - A customer completes an appointment reservation:
Schedule. - A customer completes a purchase:
Purchase.
Those are Meta standard events. You can measure earlier actions too, but keep their names honest. Opening a contact form should not count as a submitted lead.
Decide how you handle unpaid orders, rejected forms, cancellations and refunds. For offline payment methods, an accepted order and received payment are separate milestones. Track that distinction in your records. If your financial report counts paid orders, your comparison should use paid orders rather than every order created.
Connect the correct website data source
Open Meta Events Manager and select the website data source associated with your business. Create one if you do not already have a suitable source. Check that the ad account you will use has access to it.
Install the Pixel through one maintained website integration or your existing tag manager. On WordPress, first check plugins, theme settings and tag-manager containers. An old installation may already be sending events. Adding another copy can create conflicting or duplicate signals.
Keep a short record of the data-source ID, the integration responsible for each event and the person who maintains it. Interface labels can change; the data-source identity must remain consistent.
Trigger the conversion after success is confirmed
Use the form, booking system or checkout's successful completion signal. A button click is a weak substitute because validation, availability checks or payment can still fail afterward.
For a contact form, the event should follow an accepted submission. For a booking, it should follow the saved reservation. For a store, inspect the integration's purchase trigger and test your payment methods rather than assuming every confirmation page means payment succeeded.
Send the value and currency for a Purchase event. Agree whether the value includes shipping and tax, and use that same definition when comparing revenue.
If the journey moves to an external booking provider or payment domain, check what that provider can report. Tracking your own landing page alone does not prove a conversion happened elsewhere.
Add a server connection where it fits
Conversions API sends events to Meta from a server or supported integration. It can complement browser events when the browser path misses a signal, but it does not automatically know which orders are valid.
Where browser and server report the same conversion, the event name and identifier must agree. The Pixel's eventID corresponds to the server's event_id. This lets Meta deduplicate the two reports instead of treating them as separate outcomes.
Use the integration's built-in implementation when it already covers your workflow. A second server sender is not automatically an improvement.
Check privacy before collecting advertising data
Configure the tracking integration to respect the permissions and consent choices applicable to your visitors. For UK visitors, the ICO's guidance on cookies and similar technologies explains consent requirements and the limited exceptions.
Server delivery does not remove privacy obligations. Keep free-text enquiries, chat transcripts and sensitive service details out of advertising payloads. Test both acceptance and refusal of advertising tracking.
Verify the complete journey before spending
In Events Manager, open Test Events for the correct data source. Complete one controlled conversion, then confirm three things: your website saved the result, Meta received the intended event, and the event's value, currency and identifiers are correct.
Repeat a failed action and revisit the confirmation page. Neither should create a new successful business outcome. Test mobile too, especially if most visitors will arrive from Facebook or Instagram.
For server tests, follow Meta's testing instructions. Remove a test event code from production requests afterward. A test label is not a promise that the event cannot affect measurement, so keep testing controlled.
Connect measurement to the campaign
When configuring the campaign, choose a website conversion location and the data source and event that match your objective, where those options are available. Review the campaign's attribution settings before reading its results.
Events Manager shows received website activity. Ads Manager reports conversions attributed to advertising under its settings. Your order or booking system records the underlying business transactions. These totals answer different questions and need not match exactly.
Add campaign parameters to ad links so your own records can preserve a useful source label. Never put customer contact details in a URL parameter.
Build a website journey worth measuring
Niwa can help visitors understand products and services before they buy or reserve a time. Its booking workflow gives service businesses a concrete outcome to check; its WooCommerce tools work with the store's business information.
An AI-built website uses AI during creation. An AI-powered website keeps assisting customers and the owner after launch. Conversion tracking measures what happens in that ongoing workflow; it does not establish that AI caused a sale.
Niwa Business is USD 150 and includes a custom WordPress website or migration, hosting, maintenance and AI adaptation for the business. Existing WordPress owners can use the standalone Niwa plugin. Contact Niwa with your website and the outcome you want to measure so the proposed setup can cover the customer journey and its measurement requirements.

