

How to Find Which Pages Bring Leads in GA4
Use GA4 landing-page and lead-event reports to separate pages that start lead-producing sessions from pages where enquiries are actually submitted.
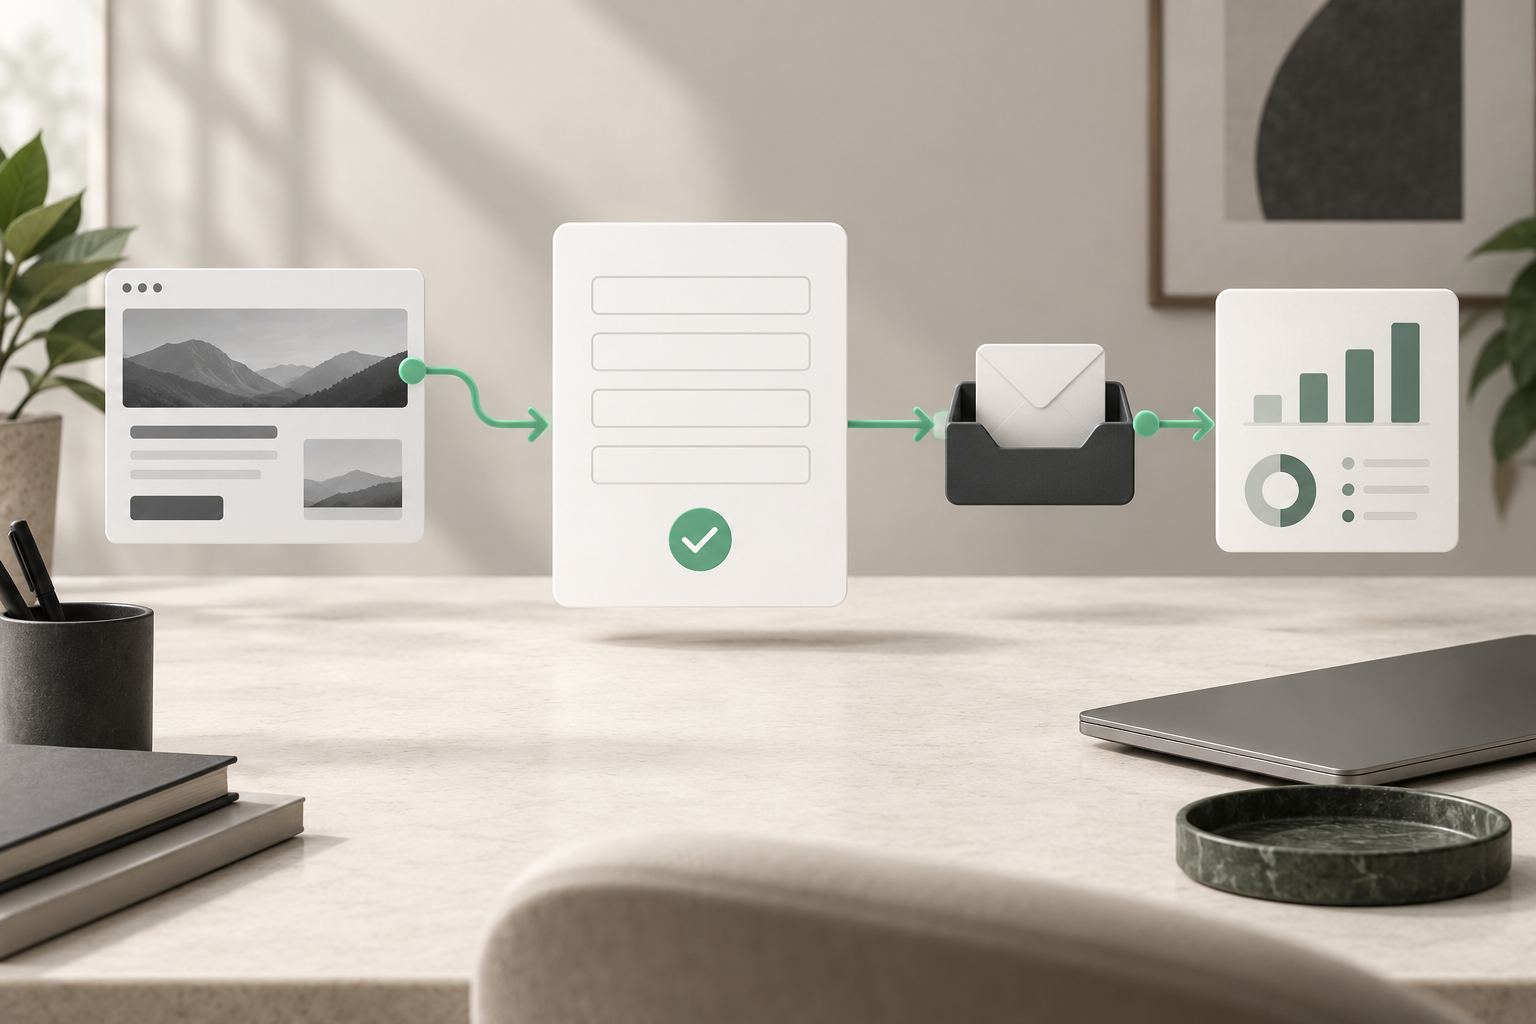
To find which pages bring leads in GA4, first track a real lead event, then open the Landing page report and select that event in the Key events column. This shows the pages that started sessions in which leads occurred. To find where visitors actually submitted enquiries, use an exploration filtered to the lead event with a page-path dimension. Those reports answer different questions.
This matters when an AI-powered WordPress website helps visitors move between pages. A visitor may arrive on a service guide, ask Niwa a question and finish on a contact or booking page. Crediting only the final page hides the useful entrance; crediting every viewed page as the cause overstates what the data tells you.
Make sure the lead event means something
Start with an event such as generate_lead that fires after a successful enquiry. A button click or automatic form interaction is not enough evidence. Select one lead definition consistently across the reports you compare.
If bookings and enquiries are separate outcomes, keep separate events. A download can be valuable, but mixing it with confirmed sales enquiries makes the lead count harder to interpret.
Mark the business lead event as a key event using GA4's event administration. Record the date you made the change. Do not assume a newly marked key event reconstructs historical lead reporting that was never collected or designated that way.
Read the Landing page report
In GA4, select Reports and find the Landing page report. In the Life cycle collection, it appears under Engagement. Your property may use a different report collection; an Editor can add the report if it is absent.
Choose a date range that gives your business enough observations, then select the intended lead event in the Key events column. Read sessions alongside the lead count. If available in your report, add Session key event rate and select the same event.
Google's Landing page documentation defines the landing page from the first page view in the session. This report therefore concerns the starting page of lead-producing sessions. It does not mean the form was on that page.
Search for a service section or compare specific entrance pages. Inspect query strings too: campaign parameters can split what looks like one page into several rows. For analysis, decide whether you need the full query-string detail or a deliberately grouped page view.
Compare volume with the session rate
Consider an illustrative example, not Niwa customer results. Page A starts 500 sessions and 20 of those sessions contain a lead event. Page B starts 100 sessions and 8 contain a lead event. Their session lead rates are 4% and 8%, respectively.
Page A brings more lead-producing sessions; Page B has the higher rate. Neither observation alone proves which page should receive more marketing budget. Check traffic source, intent and lead quality before deciding.
Keep the denominator clear. Twenty lead events are not necessarily twenty lead-producing sessions, because one session can contain several enquiries. Use GA4's session key event rate for a session-based comparison, or calculate a clearly named event-per-session measure. Do not swap the two halfway through a report.
Find the page where the enquiry occurred
Open Explore and create a Free-form exploration. Import Event name and a page dimension such as Page path and screen class. Import Event count. Add the page dimension to rows and Event count to values, then filter Event name exactly to your lead event.
This view shows the page context sent with the lead event. It helps distinguish an enquiry submitted on a product page from one submitted on the main contact page.
If your lead event is sent by a server integration, check whether it includes valid page context. Missing or incorrect page information can make the resulting page report misleading. A lead record existing in the CRM does not automatically supply that context to GA4.
For a more tailored implementation, a non-personal form_id or permitted page identifier can help. Register event-scoped custom dimensions before expecting those custom parameters in reports, following Google's dimension instructions.
Add the source without changing the question
Use the Traffic acquisition report with Session source / medium and Landing page + query string as a secondary dimension when you need to compare entry pages by source. Keep the same lead event and date range.
A page that attracts informational search visitors may behave differently from the same page reached through a warm email campaign. Source context can explain the difference without assuming the page design caused it.
The broader Niwa guide to traffic sources that produce leads covers the business interpretation. Here, the task is to construct the GA4 page report correctly.
Check the result against useful enquiries
Review small samples cautiously. Check duplicate completion events, internal visits, consent coverage and processing delay before treating a change as a business trend. Compare lead totals with form or CRM records, keeping those personal records outside GA4.
Use what the report reveals to review the actual page: service details, pricing explanation, form friction or the next step after a conversation. Niwa can help visitors understand the offer and continue to a relevant task, but a before-and-after lead count does not by itself prove the assistant caused an improvement.
Describe the page and enquiry workflow to Niwa. Bring the entrance-page report and the submission-page view so the next discussion starts with where the journey really succeeds or stalls.

