

How to Transfer a Framer Website to WordPress
Move your text, images and CMS content into WordPress, recreate the layouts as editable pages or templates, and reconnect the site's functions.
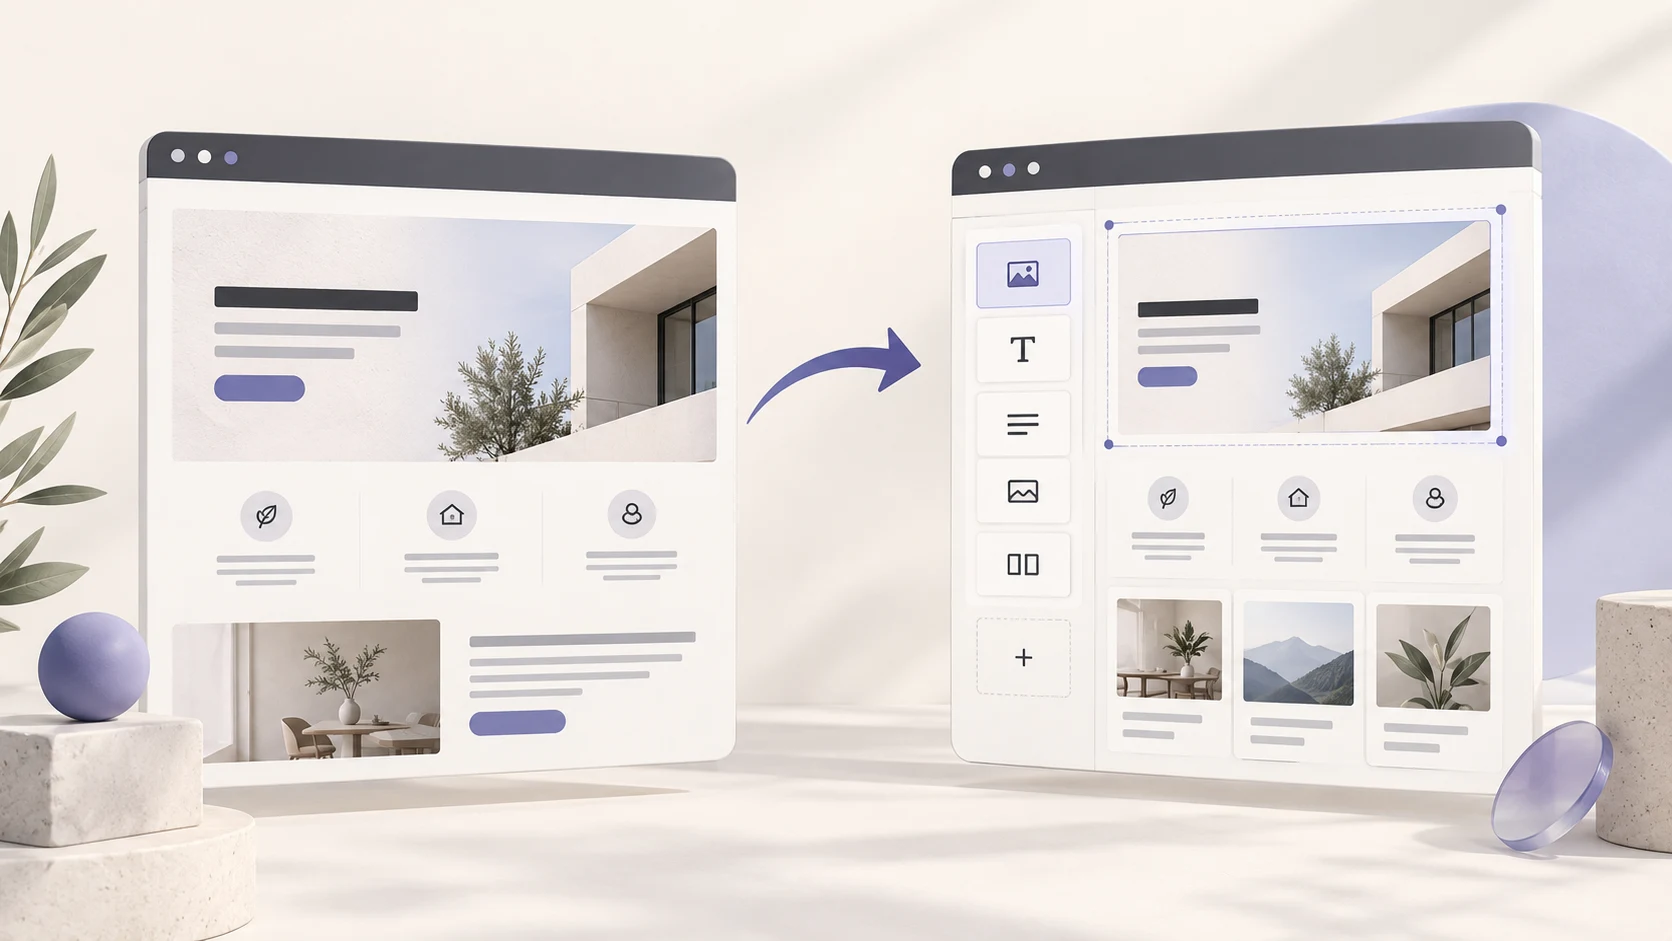
To transfer a Framer website to WordPress, move your text, images and CMS content into WordPress, recreate the layouts as editable pages or templates, reconnect the site’s functions, and point your domain to the new hosting after testing. Keep existing page URLs where possible and set up permanent redirects wherever they change. A downloaded copy of a published Framer site does not automatically become an editable WordPress theme.
You can keep the design you like. The work is deciding how that design, content and functionality will operate inside WordPress.
Have Niwa handle the WordPress move
Niwa Business includes a custom WordPress website or migration of your existing site, hosting, maintenance and AI tools adapted to your business for USD 150.
Send Niwa your Framer website URL with the pages, collections and functions you need to keep. The team can use that information to agree the migration scope, editing approach and business workflows with you. Include any forms, bookings, customer accounts or custom interactions that need attention, and confirm the billing terms with the team.
For a service business, the destination can do more than display the same pages. A visitor can ask Niwa about a service on the website or WhatsApp. Using your website’s business information and connected schedule, Niwa can check availability and book the appointment directly in the WhatsApp conversation. Configure the services, appointment lengths and customer access as part of the migration.
The steps below explain the migration itself, whether you handle it with your own team or use Niwa Business.
1. Make an inventory before changing the live site
Start with a spreadsheet listing every page and its current URL. Include CMS-generated pages, language versions and pages that are linked from campaigns but missing from the main navigation. Your public sitemap can help you find them, but compare it with the project itself.
For each page, record its title, description, main content, images and essential actions. Save desktop and mobile screenshots so you have a design reference.
Also list the parts that will need separate attention:
- CMS collections and relationships between items.
- Contact forms, submission destinations and confirmation messages.
- Booking tools, payments, member areas and external embeds.
- Fonts, downloadable files, custom code and important animations.
- Analytics, consent settings and search verification.
Download the original assets you are entitled to reuse. Check font, template and component licences before moving them into a different implementation. A screenshot helps reproduce a layout, but it does not replace editable content or licensed source assets.
Keep Framer running while you prepare the destination.
2. Prepare WordPress on a separate staging address
Set up WordPress on hosting that supports the site you intend to build. Use a temporary address or a staging subdomain while the Framer website continues serving visitors.
Decide how the team will edit content. WordPress blocks and reusable patterns may cover a straightforward business site. A page builder or custom theme may suit a more involved design. Choose around the site’s requirements and the people maintaining it.
Agree on the content structure before importing. Blog articles can become posts. Service pages can become pages. A large case-study collection may need its own content type and fields.
Protect the staging site from public access where appropriate, and keep it out of search results during development. Record those restrictions so they can be removed from the production site at launch. Create a backup before bulk imports or major changes.
3. Export the content and import a small sample first
Framer’s own CMS Export plugin exports collections as CSV files. Open it in your project, export the collections you need, and inspect the files. Check the item count and whether the fields contain the text, image references and other values you expect. Keep an untouched copy of each export.
Framer’s full-site export documentation is inconsistent: its portability guide describes downloadable site output, while its HTML export guide says standalone export is unavailable. Check your project’s available method. A site snapshot still needs conversion into editable WordPress content and templates.
WordPress’s standard WordPress importer expects a WordPress export file. A Framer CSV needs an appropriate CSV importer or a deliberate manual migration. The official WordPress importing documentation lists CSV/XML import options, including WP All Import. Check the chosen tool’s edition and support for the fields you need.
A field map might look like this:
| Framer collection field | WordPress destination |
|---|---|
| Article title | Post title |
| Slug | Post slug |
| Main text | Post content |
| Summary | Excerpt |
| Cover image | Featured image in the Media Library |
| Publication date | Post date |
| Category reference | Category or another agreed taxonomy |
Import a few representative items before the whole collection. Include one with a long article, one with images and one with related content. Check formatting, dates, accents, links and image placement.
Collection references may need mapping to new WordPress IDs. An image URL in a CSV does not prove that the image has been copied to your hosting. Confirm that required media is stored in the WordPress Media Library and that the finished page uses the intended files.
For ordinary pages outside the CMS, copy the content into WordPress and upload its assets. On a small site, this can be easier to check than an automated import.
4. Rebuild the design as editable WordPress layouts
Create the shared header, footer, navigation and page templates first. Then rebuild individual pages against the Framer references.
Match typography, spacing, colours and image proportions. Check smaller screens as you build rather than waiting until the desktop layout is complete. Recreate interactions that serve a purpose, and test their effect on loading and accessibility.
Ask the person who will maintain the site to change a heading, replace an image and add a collection item. If ordinary updates require digging through a copied JavaScript bundle, the destination does not yet provide the editing workflow you wanted.
Here is an illustrative migration: a service business has six Framer pages and twelve case studies. The six pages become WordPress pages. The case studies use a shared template with fields for the client, project description and images. The design remains recognizable, while adding a case study no longer means rebuilding its layout.
5. Reconnect forms and other business functions
A page can look finished while its inquiry form sends nothing.
Rebuild or reconnect each function from your inventory. Check the actual destination of form submissions, booking records, payment actions and newsletter signups. Preserve existing external services where they still meet the requirements.
Submit a test inquiry and verify receipt. Complete a booking test if bookings are part of the site. Check downloads, success messages, validation errors and the events used to measure those actions.
If the site has customer accounts, a store or a custom application, scope that migration separately. Those records and processes need more than copying visible pages.
6. Preserve URLs and prepare redirects
Where practical, keep the same domain and page paths. If a case study already lives at /projects/studio-renovation, make the WordPress version available there too.
For every changed URL, map the old address to the closest relevant new page and configure a permanent redirect, commonly a 301. Put those redirects on the destination infrastructure that will receive requests after the move. Avoid sending every old page to the homepage.
Carry over useful page titles and descriptions, check canonical URLs, and update internal links. For multilingual sites, check each language’s URLs and language annotations. Verify that the new sitemap contains the pages you want indexed.
Google recommends URL mapping and monitoring during a move, and warns that rankings can fluctuate while it recrawls a changed site. Redirects help search engines and visitors find the new pages; they do not guarantee unchanged rankings. See Google’s site migration guidance.
7. Test the finished site, then switch the domain
Before launch, review the WordPress site on desktop and mobile. Check content coverage, navigation, images, forms, integrations and important old URLs. Confirm that the team can make the edits it needs.
Create a launch backup and record the current DNS settings. Then point the website’s domain records to the new hosting according to your host’s instructions. Keep the email-related records intact unless you are deliberately migrating email too. Moving the website does not require transferring its domain registration to another company.
After the switch, confirm HTTPS, the correct live pages, redirects and real form delivery. Remove development indexing restrictions from the production site and check for leftover staging links or canonical URLs. Review the sitemap and monitor search reports and missing-page errors.
Keep the old project and migration records until the WordPress site has been verified. Cancel the old hosting arrangement only after checking that you no longer depend on it.
Common migration problems
The CSV imported, but the pages look wrong. An import moves data into fields; the WordPress theme or template controls its presentation. Check both the field mapping and the destination layout.
Images disappear after the old site is removed. Inspect their URLs. Files still served from the original platform need to be copied where permitted, added to the destination and referenced correctly.
An animation works in Framer but not in WordPress. Rebuild it for the destination or agree on a simpler interaction. Framer-specific components do not become WordPress components automatically.
Old links return a 404. Compare them with the URL map and test the redirect on the live destination. A redirect configured only on a platform that no longer receives traffic cannot fix the new site’s missing page.
The form looks correct but no inquiry arrives. Check its submission endpoint, recipient settings and mail delivery. Confirm receipt instead of relying only on the success message.
What will the migration cost?
The cost depends on how much needs to move: pages, collections, custom layouts, interactions and business functions. If you arrange the migration yourself, budget for hosting, any paid themes or builders, importer features and ongoing maintenance. With Niwa Business, hosting and maintenance are included in the offer described above; agree the scope of your migration and any separately quoted requirements with the team.
Compare the complete scope before deciding. A low-cost file export and a maintainable WordPress website are different deliverables.
Put the migrated site to work with Niwa
Moving the site is also a chance to connect the information on its pages to the tasks customers come to complete.
For example, a customer asks how long an appointment takes. Niwa answers from your migrated service information, helps them choose the service and checks your availability. The customer selects a time and provides the details needed for the booking. Niwa can complete the booking directly in a WhatsApp conversation, using the same business context and connected schedule. Check the saved appointment and confirmation as part of the setup.
Prepare service descriptions, prices, appointment lengths and working hours during the migration. Then test the whole journey, including the saved appointment, so the site and assistant use the same information.
Niwa also helps with the owner’s work in WordPress. If a service description changes, you can ask Niwa to update the page and check the saved result. For a migrated WooCommerce shop, relevant work can include stock updates and customer support by email. Choose the tasks your business needs as part of the setup.
A website built with AI describes how it was created. An AI-powered website uses AI after launch to answer questions and help complete work. That is the role of the business-specific tools included with Niwa Business.
If your site already runs on WordPress, you can install the standalone Niwa AI plugin without rebuilding it. For a Framer site, send Niwa the current URL and the functions you want in WordPress to discuss the migration and AI setup together.

