

How to Track Contact Form Submissions in GA4
Track successful contact form enquiries in GA4 using a confirmed success event, safe parameters and DebugView tests, including failed submissions.
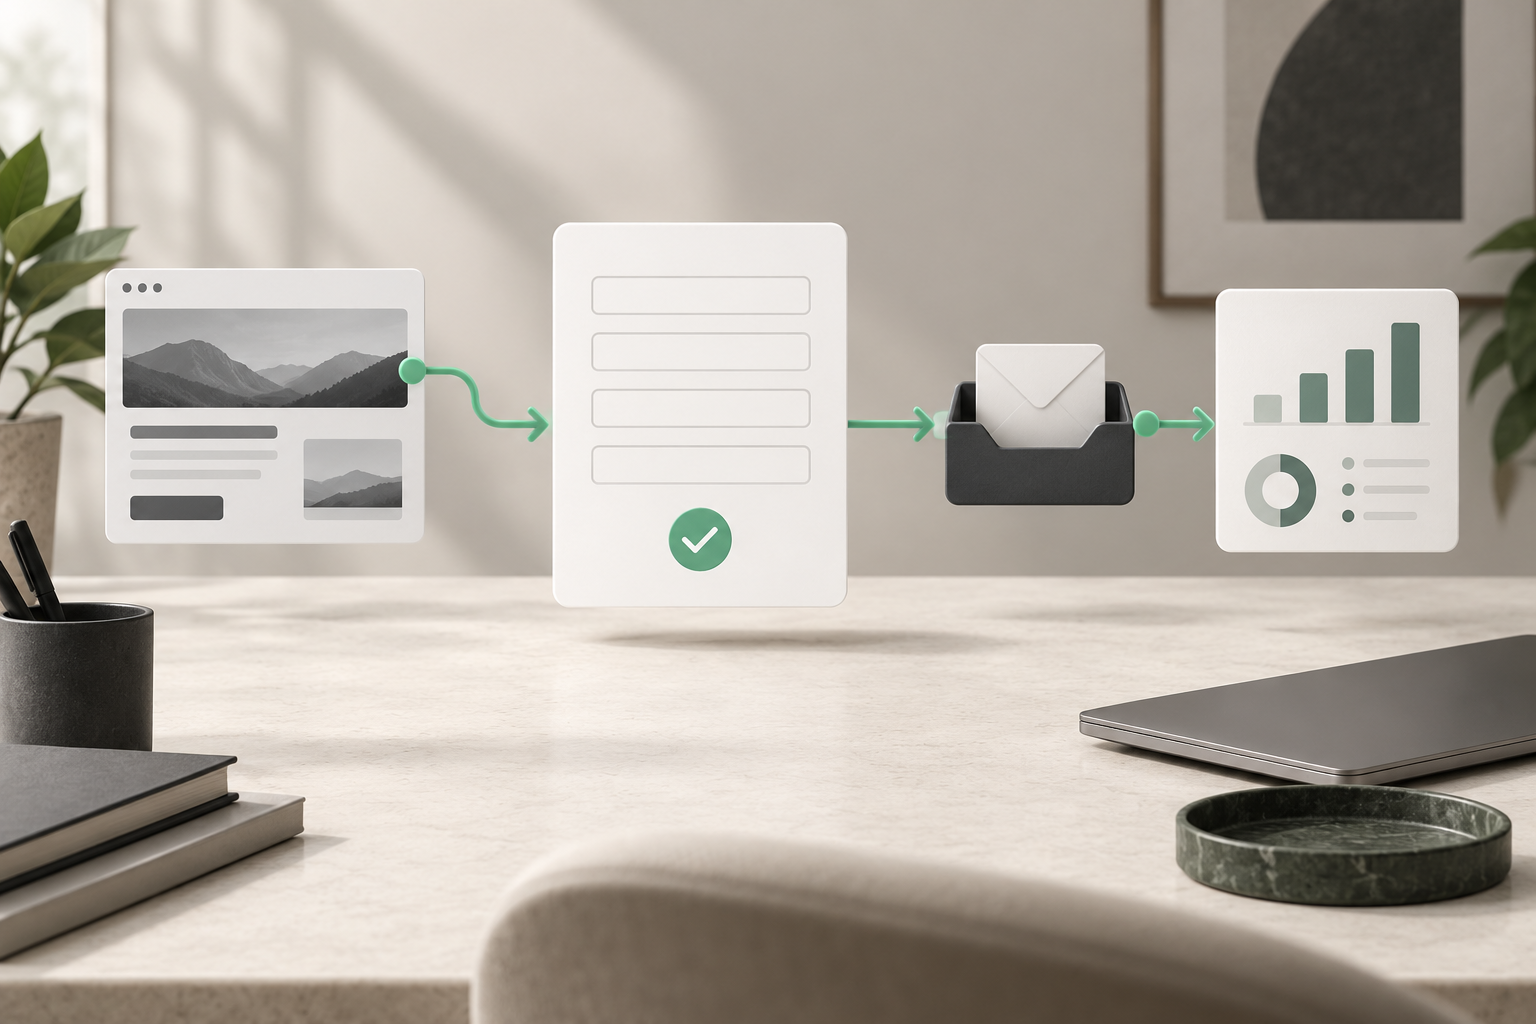
Track contact form submissions in GA4 by connecting the form’s successful completion event to a Google Tag Manager trigger, then sending generate_lead. The Contact Form 7 recipe below counts a selected enquiry form after its AJAX submission and mail-sending process succeed. It sends a form ID rather than the enquiry text, and includes checks for failed submissions.
If Niwa helps customers make an enquiry on your WordPress website, measure the accepted request through the system that receives it. A customer opening chat or clicking Submit has not yet produced that result.
Choose the enquiry and confirm the existing tag
Start with one sales or service enquiry form. A newsletter signup and an account login have different purposes; do not count them as sales leads simply because they submit a form.
This example uses Contact Form 7 with AJAX submission enabled, an installed GTM web container, and an existing Google tag connected to your GA4 web stream. Find your form’s ID in Contact, Contact Forms or its WordPress edit URL. The example uses 123; replace it with the actual ID your installation supplies as contactFormId, even if the shortcode displays a different reference.
Confirm the destination measurement ID, beginning with G-, before adding the event tag. Use that same destination throughout this setup. If tagging is still missing, complete the GA4 setup on WordPress first. Keep the site’s existing Google tag rather than installing a second copy.
Add a Contact Form 7 success listener
Contact Form 7 documents wpcf7mailsent for successful AJAX submission and mail sending. Its events bubble to document. The broader wpcf7submit also fires for other outcomes, so use the specific success event here.
In GTM, create a Custom HTML tag named Listener – CF7 enquiry. Put the following JavaScript inside an opening and closing script element in that tag. Choose a DOM Ready trigger for the pages containing this form, and set Advanced Settings, Tag firing options to Once per page. Install the listener in one place.
document.addEventListener('wpcf7mailsent', function (event) {
 var formId = String(event.detail.contactFormId);
 if (formId !== '123') return;
 window.dataLayer = window.dataLayer || [];
 window.dataLayer.push({
 event: 'contact_enquiry_success',
 form_id: formId
 });
});
The resulting data-layer message has exactly two fields: event: contact_enquiry_success and form_id: 123. Google documents this event-and-parameter data-layer pattern. Keep the technical identifiers unchanged across translated pages.
Do not copy event.detail.inputs: it contains the submitted field values. Successful mail sending also does not prove delivery to an inbox. If your business stores enquiries, compare the event with those accepted records; otherwise describe it accurately as successful form submission and sending.
Create the variable, trigger and GA4 tag
Create these three GTM items, then save the workspace:
- Variables, New: choose Data Layer Variable, name it DLV – form_id, set Data Layer Variable Name to
form_id, and use Version 2. Google’s variable guide describes how values are read from the data layer. - Triggers, New: choose Custom Event, enter
contact_enquiry_successas the Event name, leave regular-expression matching off, and choose All Custom Events. This matches that exact named event. Call the trigger CF7 enquiry success. See the Custom Event trigger guide. - Tags, New: select Google Analytics: GA4 Event. Set Measurement ID to your existing stream’s
G-ID and Event Name togenerate_lead. Add the event parameterform_idwith value{{DLV - form_id}}. Attach CF7 enquiry success as its firing trigger.
Use Google’s event-tag setup guide for the GA4 fields. The Custom HTML tag registers the listener; the GA4 Event tag sends the measurement. Keep ordinary event firing available for each success, because a page can receive two separate legitimate enquiries.
Test successful and failed submissions
Click GTM Preview, connect Tag Assistant to the form page, and use an approved test enquiry. Follow the site’s consent flow. After success, select contact_enquiry_success in Tag Assistant’s event timeline. Check that DLV – form_id equals your selected ID and that the GA4 tag fired once.
In GA4, open Admin, Data display, DebugView and select your test device. Find generate_lead, open its parameters and verify form_id. Google’s DebugView guide explains the test view. If the data-layer event appears but the GA4 event does not, inspect the tag’s measurement ID, trigger and consent status before changing the form.
Try missing required fields, a safely controlled mail failure or spam rejection, and a successful submission of another form. None should produce this selected enquiry event. A page refresh should not emit it either. Test a second genuine successful enquiry to ensure it can still be counted.
Inspect parameters and page URLs for personal data. This listener sends no name, email, phone or message, but another tag or a redirect URL could still expose them.
Use enhanced measurement and key events carefully
GA4 enhanced measurement can collect form_start and form_submit. Keep these as interaction signals if useful; use the verified success event for accepted enquiries. Do not sum an automatic submission event and generate_lead as two leads from one action.
After generate_lead appears in Events administration, mark it as a key event when it represents a meaningful lead. Register form_id as an event-scoped custom dimension if you need to compare forms in reports. If other workflows also send generate_lead, retain their separate identifiers and check which records each event represents.
The setup does not automatically deduplicate custom lead events across retries or multiple integrations. Remove any older tag that measures the same success. The listener’s Once per page setting prevents repeated registration; it does not suppress separate legitimate enquiries.
Check consent and release the configuration
Let the site’s consent management platform establish the Google tag’s consent state before collection. The listener does not grant consent. In a basic setup, test that GA4 is blocked before permission; if you deliberately use advanced Consent Mode, verify its configured behavior under refusal as well. Do not override consent through this Custom HTML tag.
Google’s privacy guidance applies to URLs and parameters as well as form fields. Keep customer details in the enquiry system or CRM.
Once the successful and unsuccessful tests pass, publish the GTM container with a version note identifying the form and event. Repeat the checks on mobile and after relevant plugin changes. Describe your enquiry workflow to Niwa if you want customers to receive help before submitting a usable request, with measurement tied to that completed handoff.

